




Sri lanka > South > Mirissa Point

MIRISSA POINT

Hosted by: A++ restaurant

Connecting
watching now
Location
Guide

Eat, drink and refuel by Mirissa Point

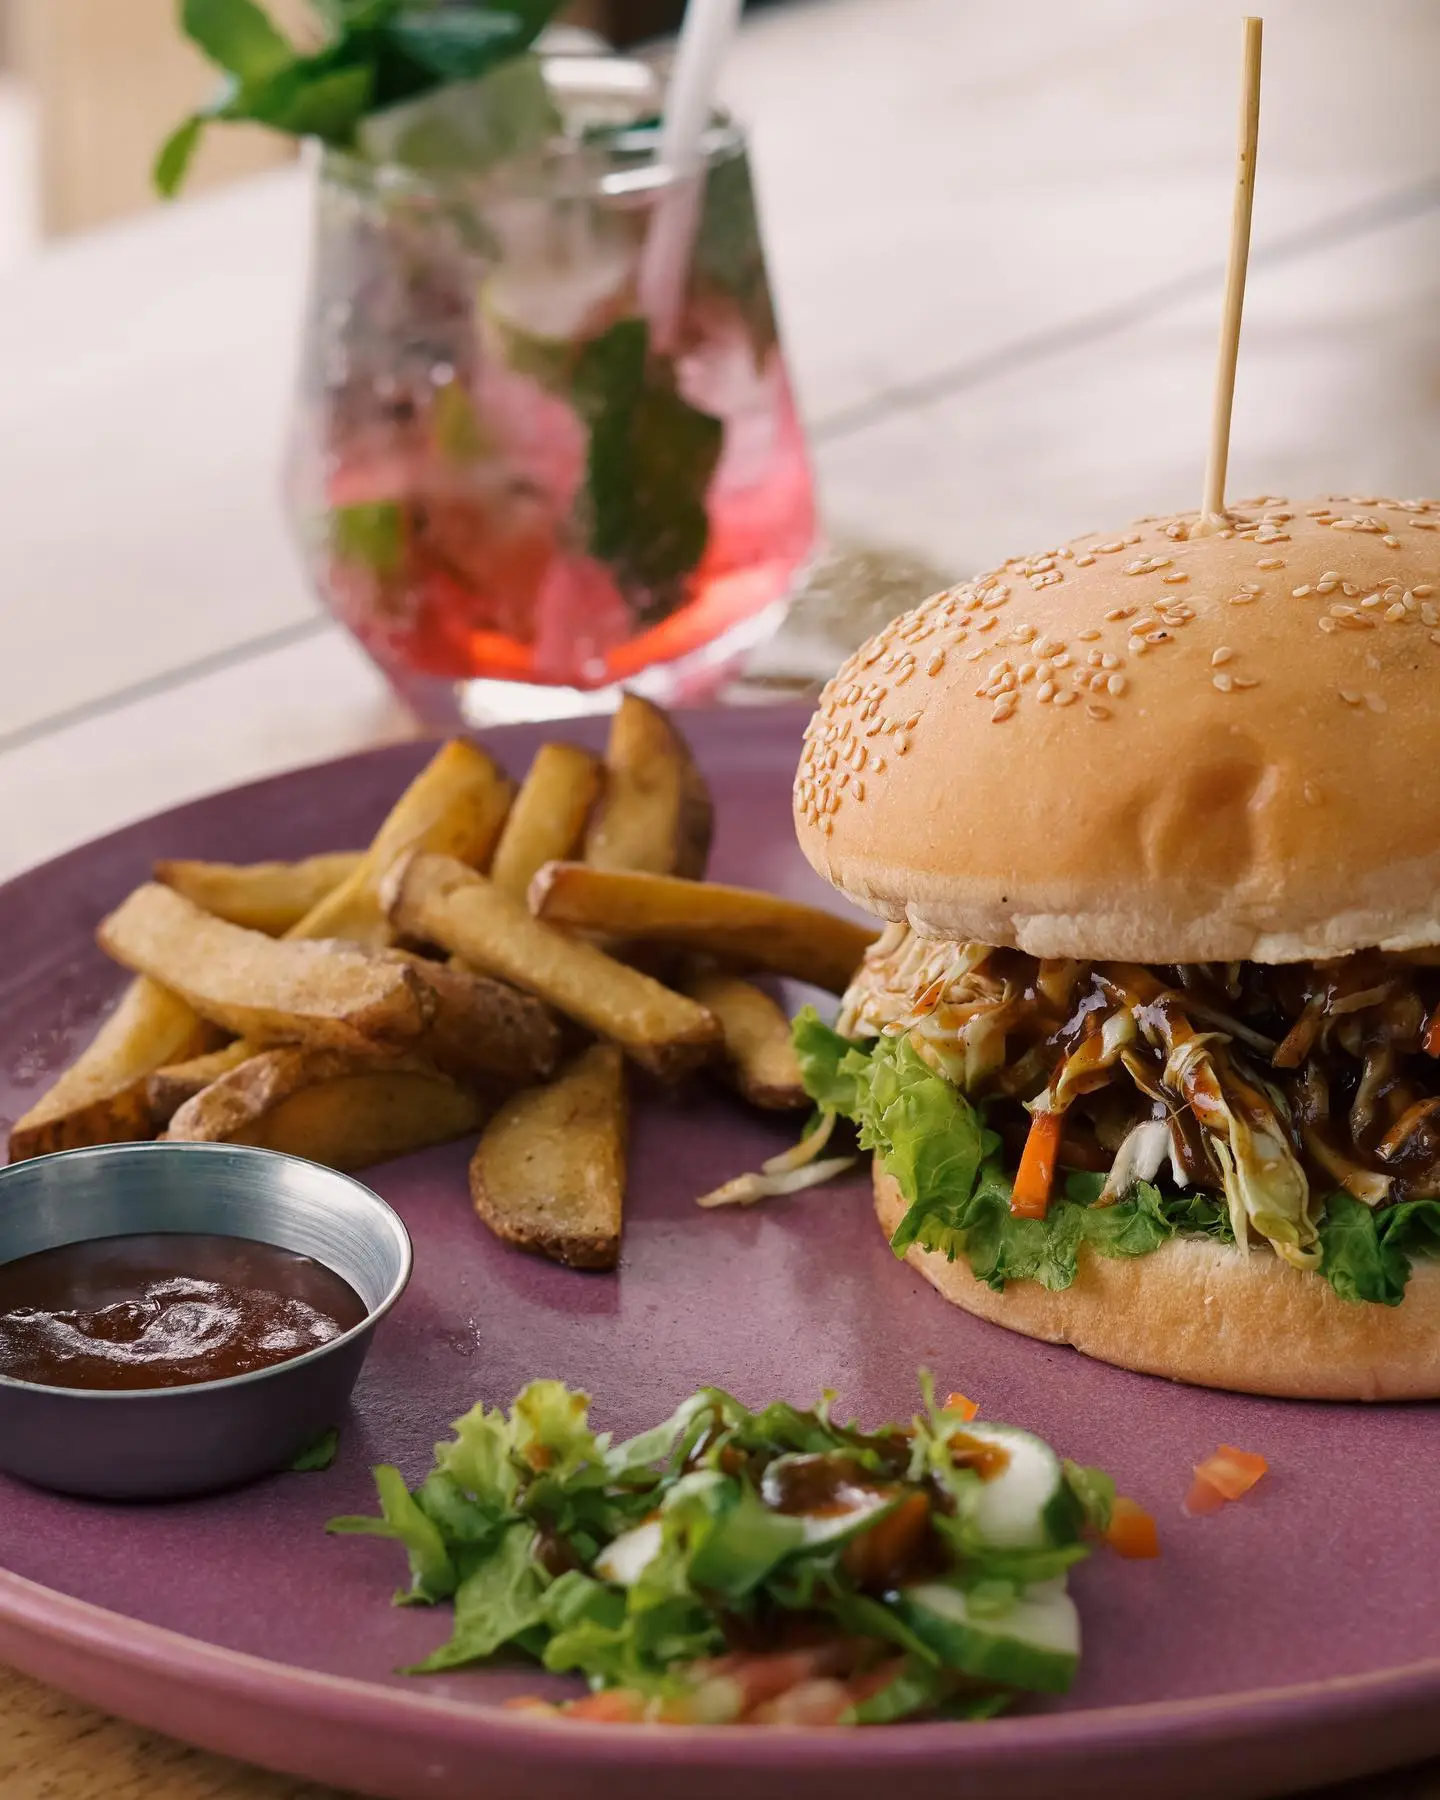
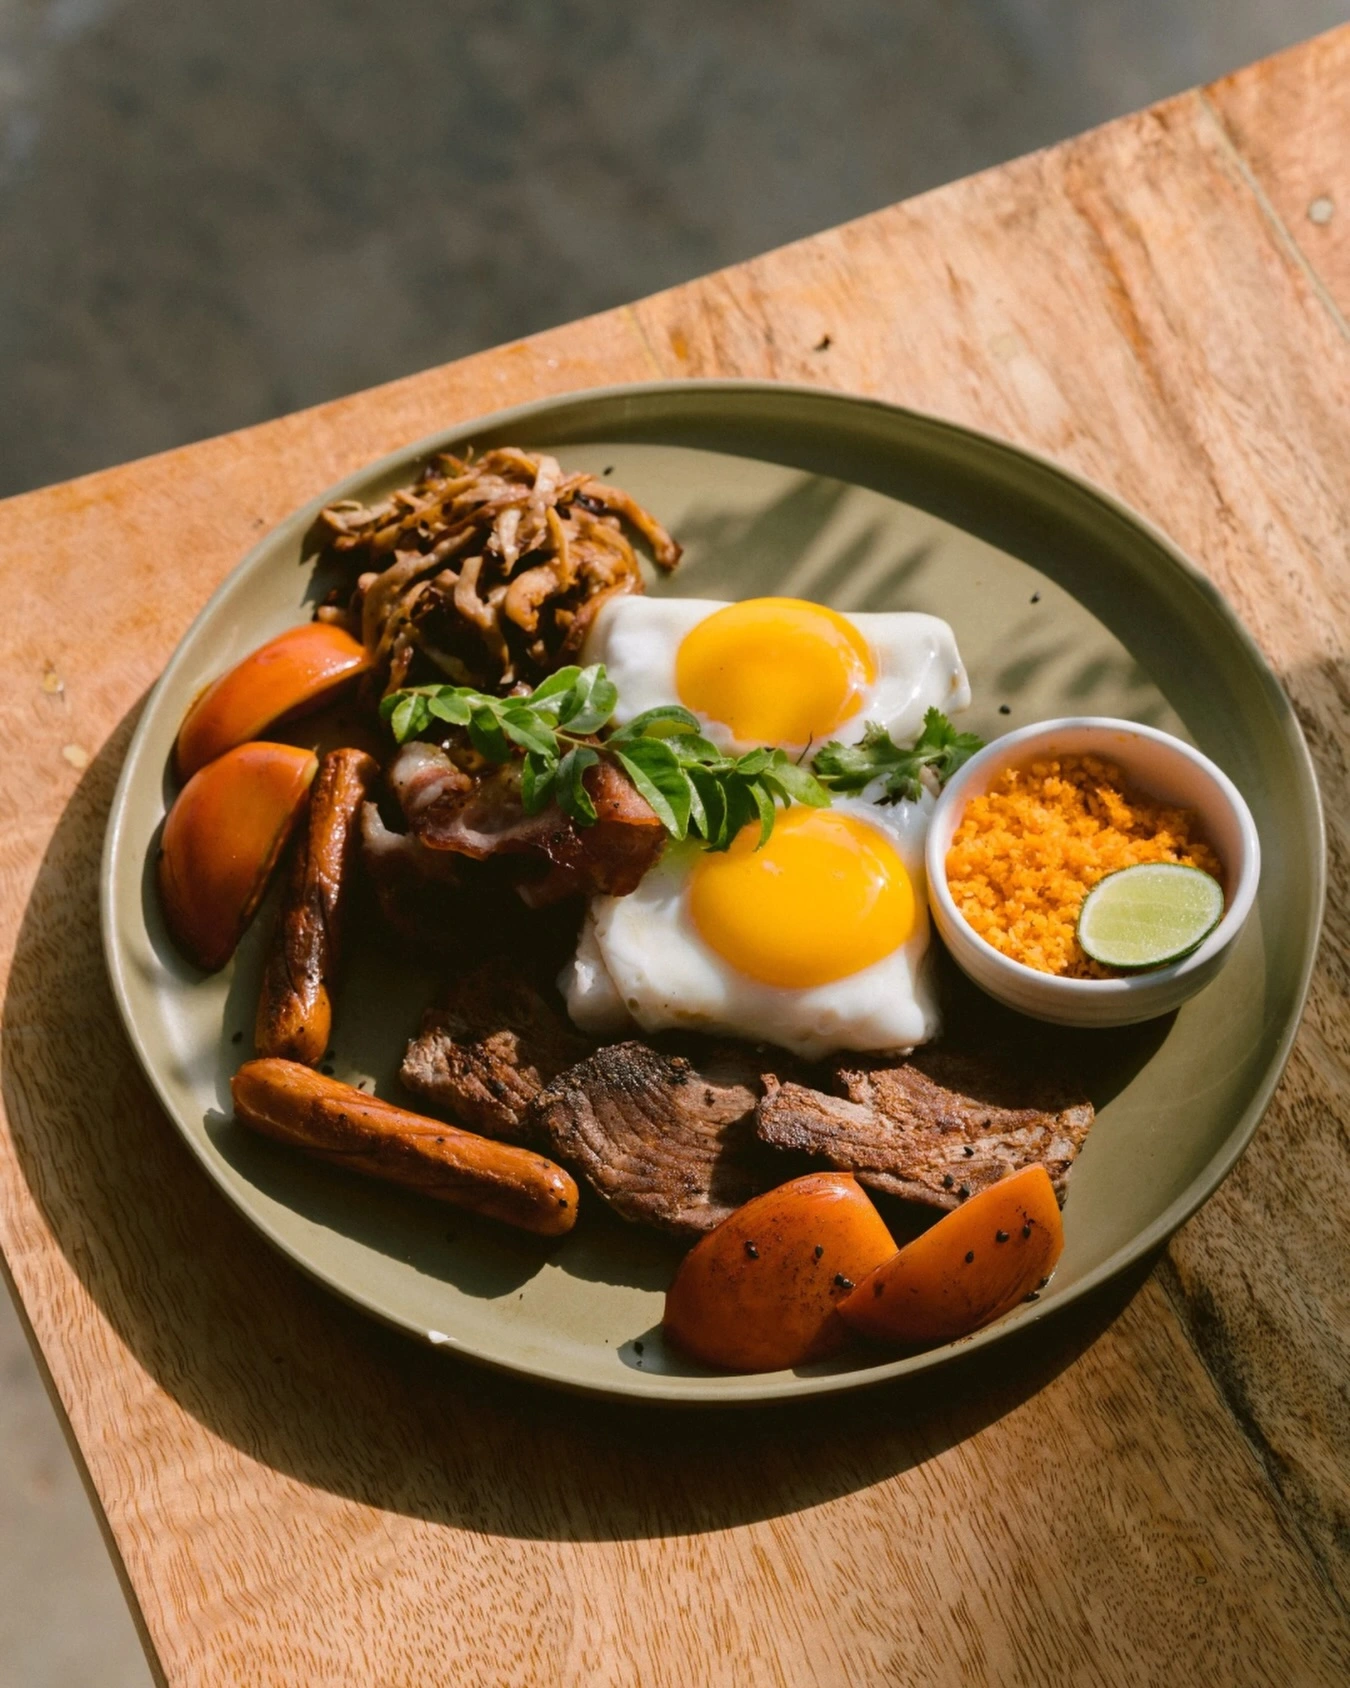
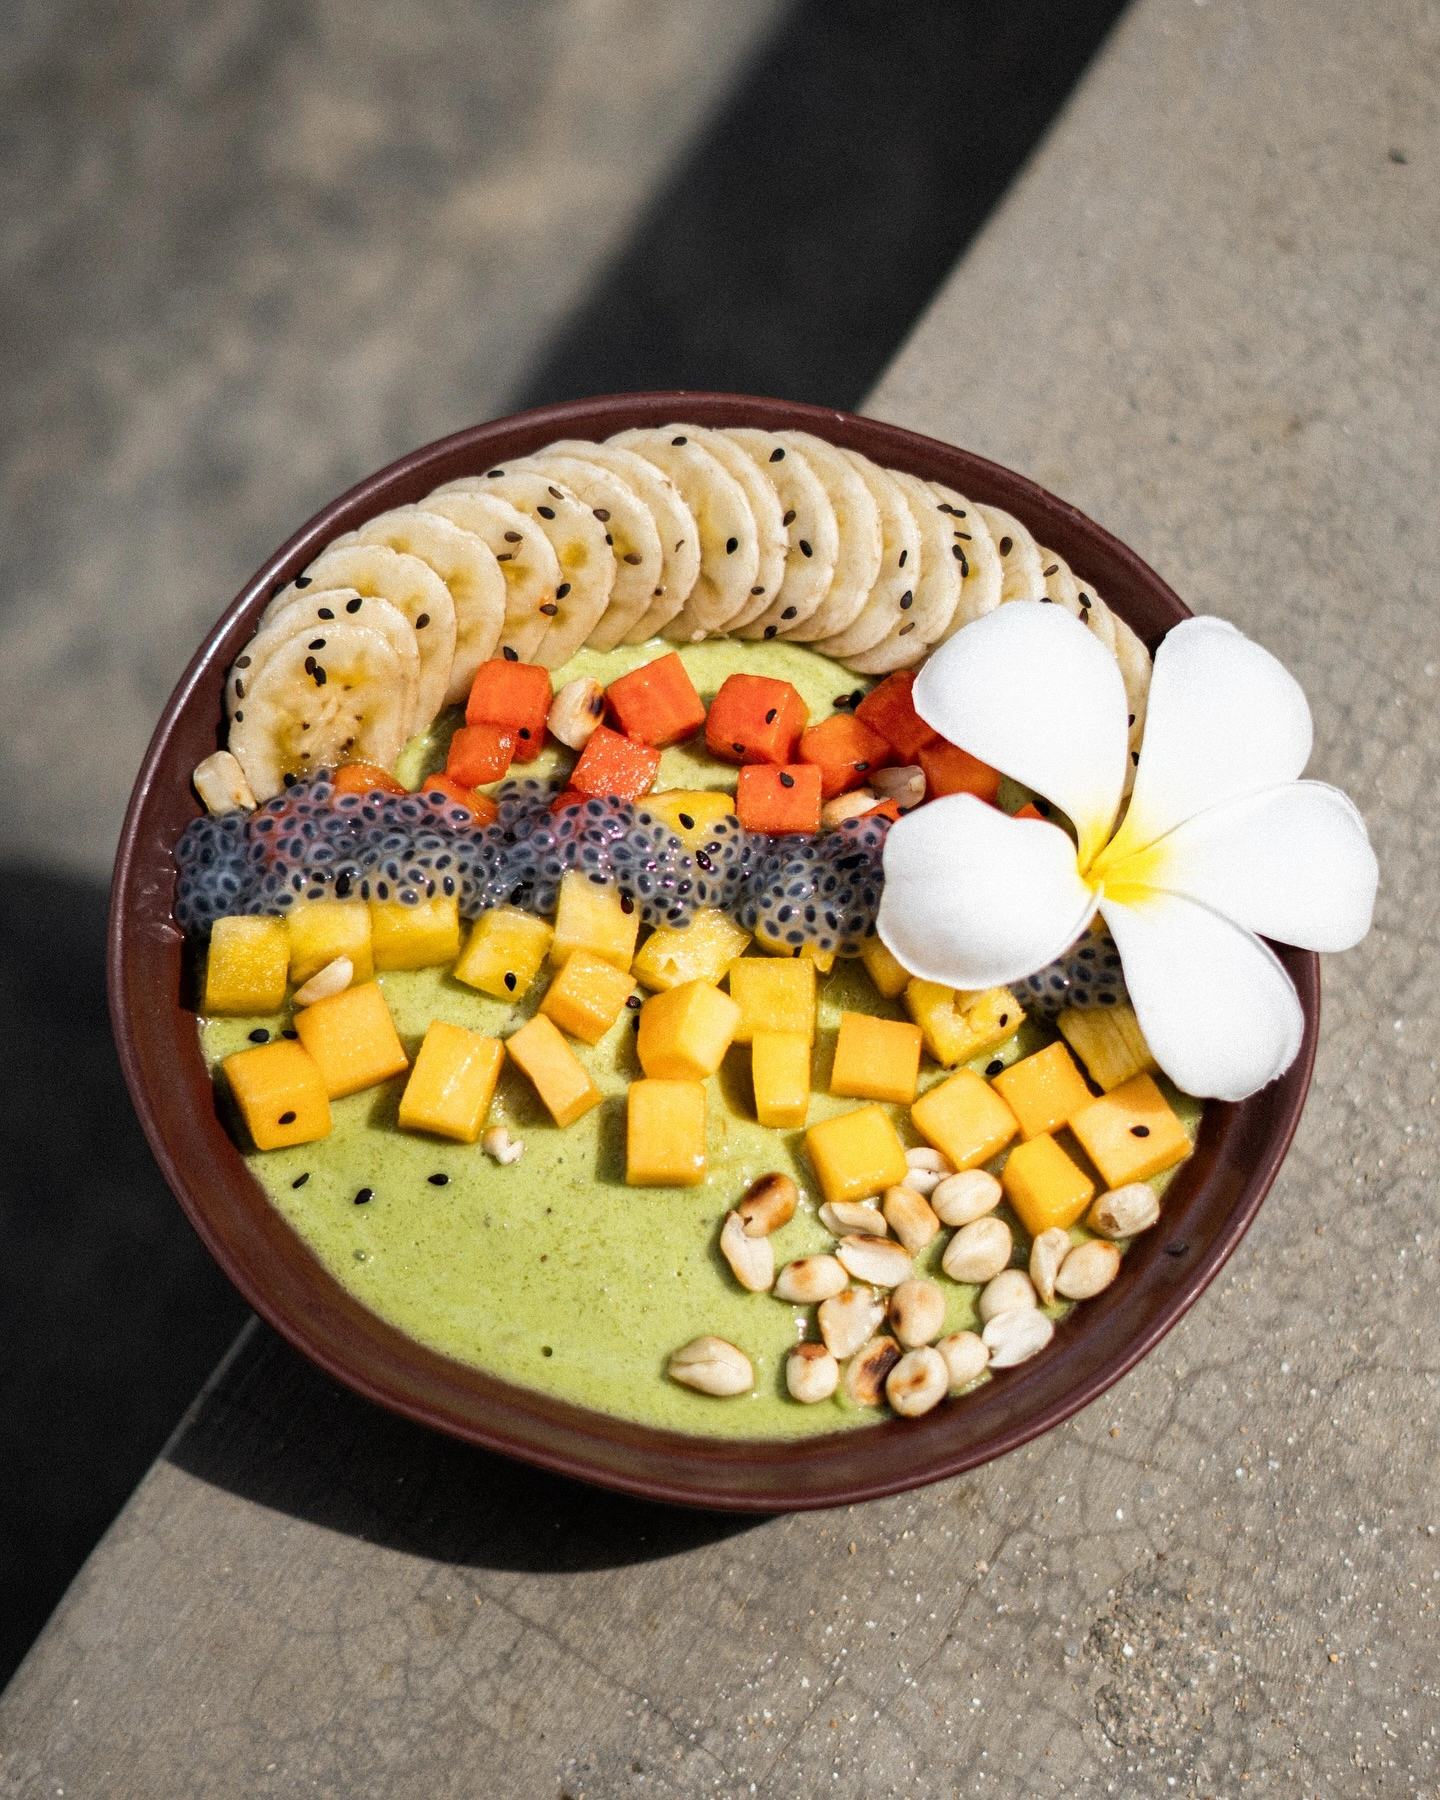
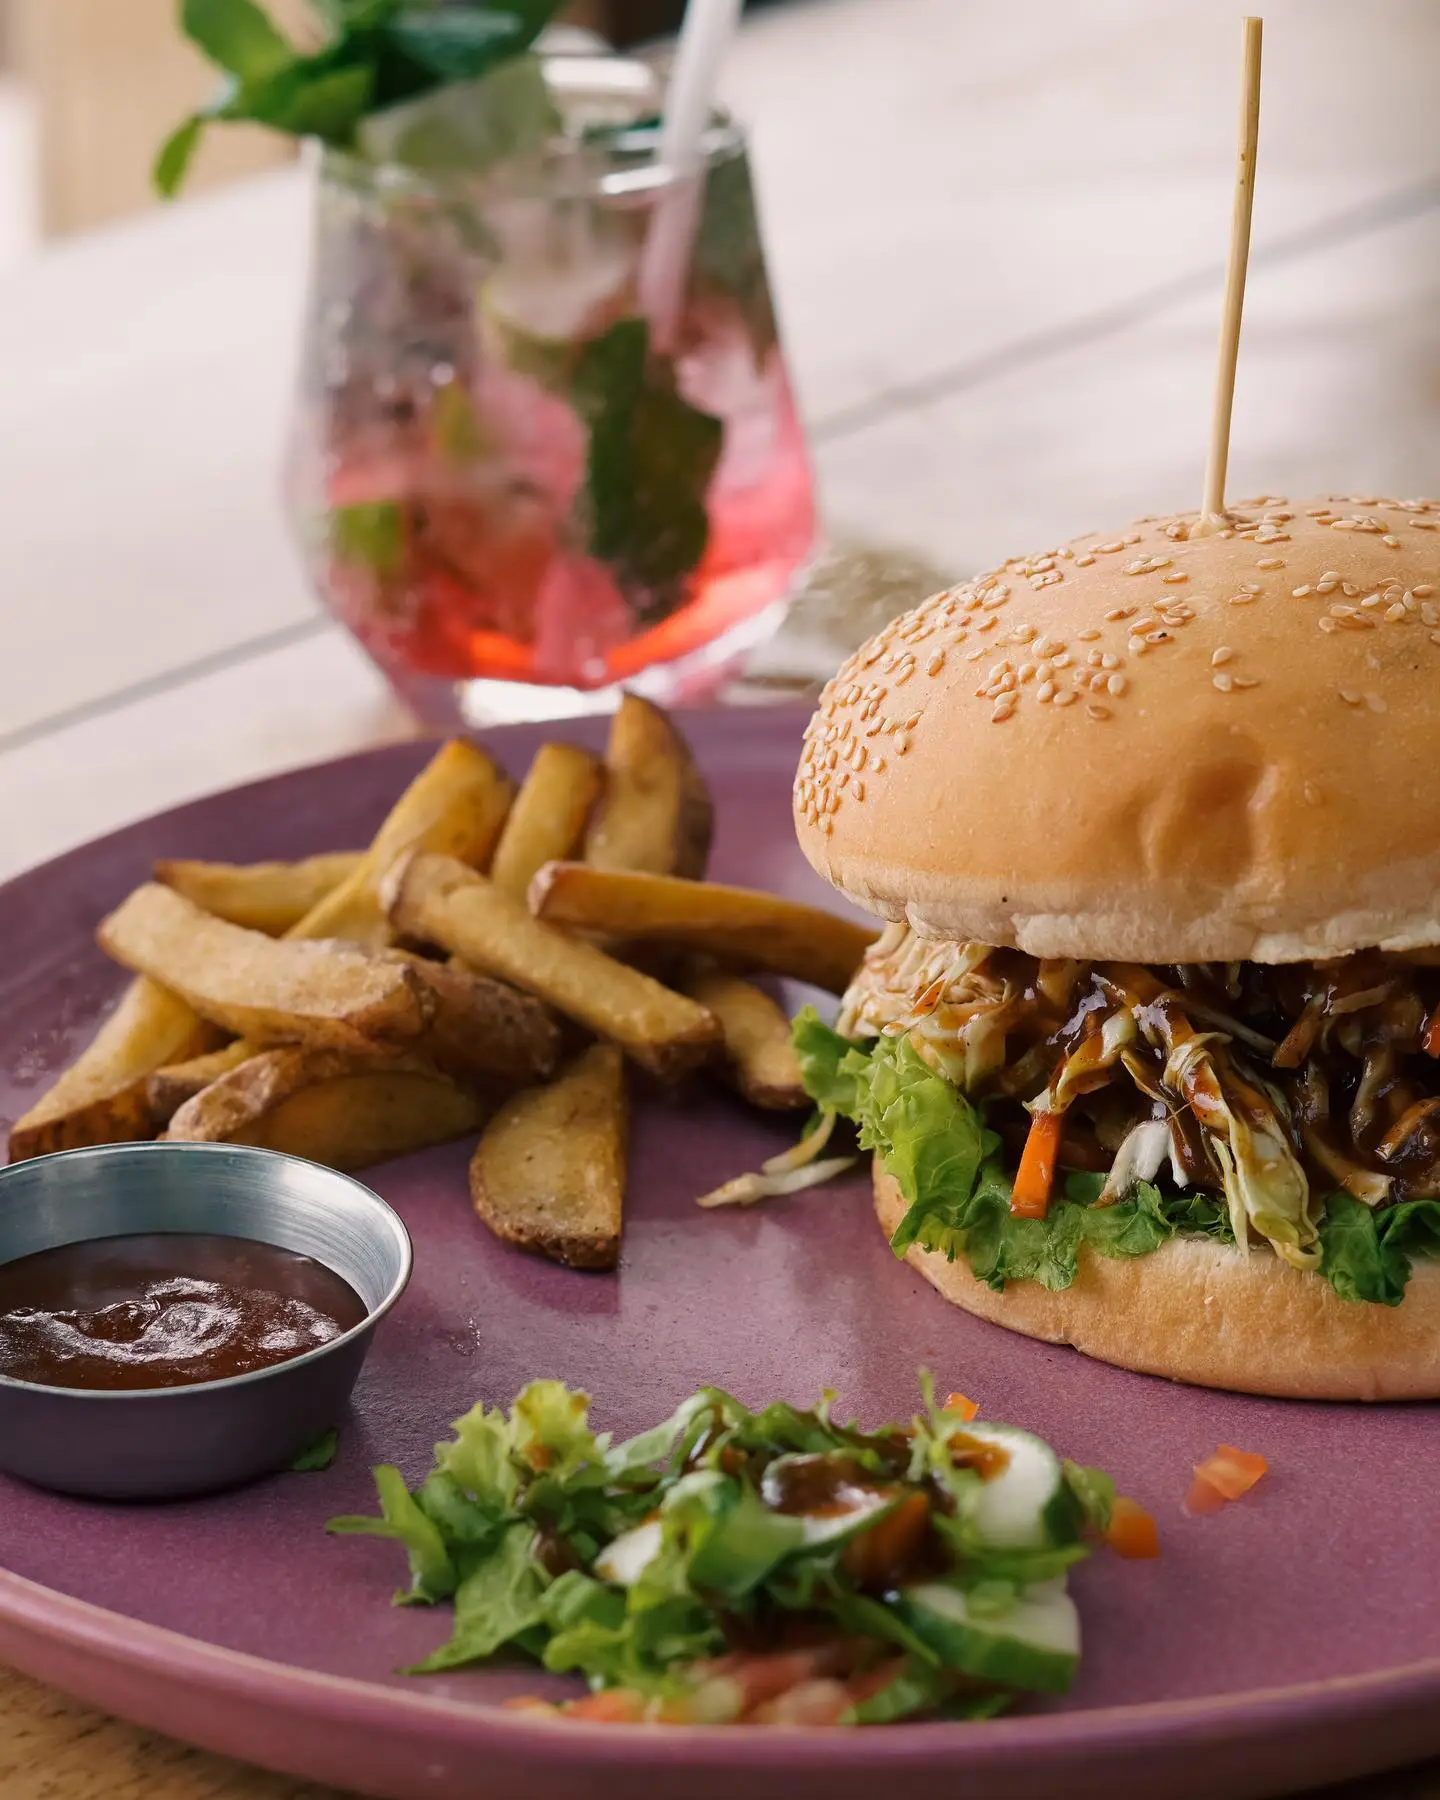
Food and drinks at A++ Restaurant beside Mirissa Point
Camera host

A++ Restaurant

A beachfront restaurant directly in front of Mirissa Point, serving Sri Lankan, Mexican and European dishes alongside excellent coffee and cocktails—all with ocean views.

  • Directly in front of the surf point
  • Food, speciality coffee and cocktails
  • Beachfront ocean views
Know before you paddle

Mirissa Point Surf Guide

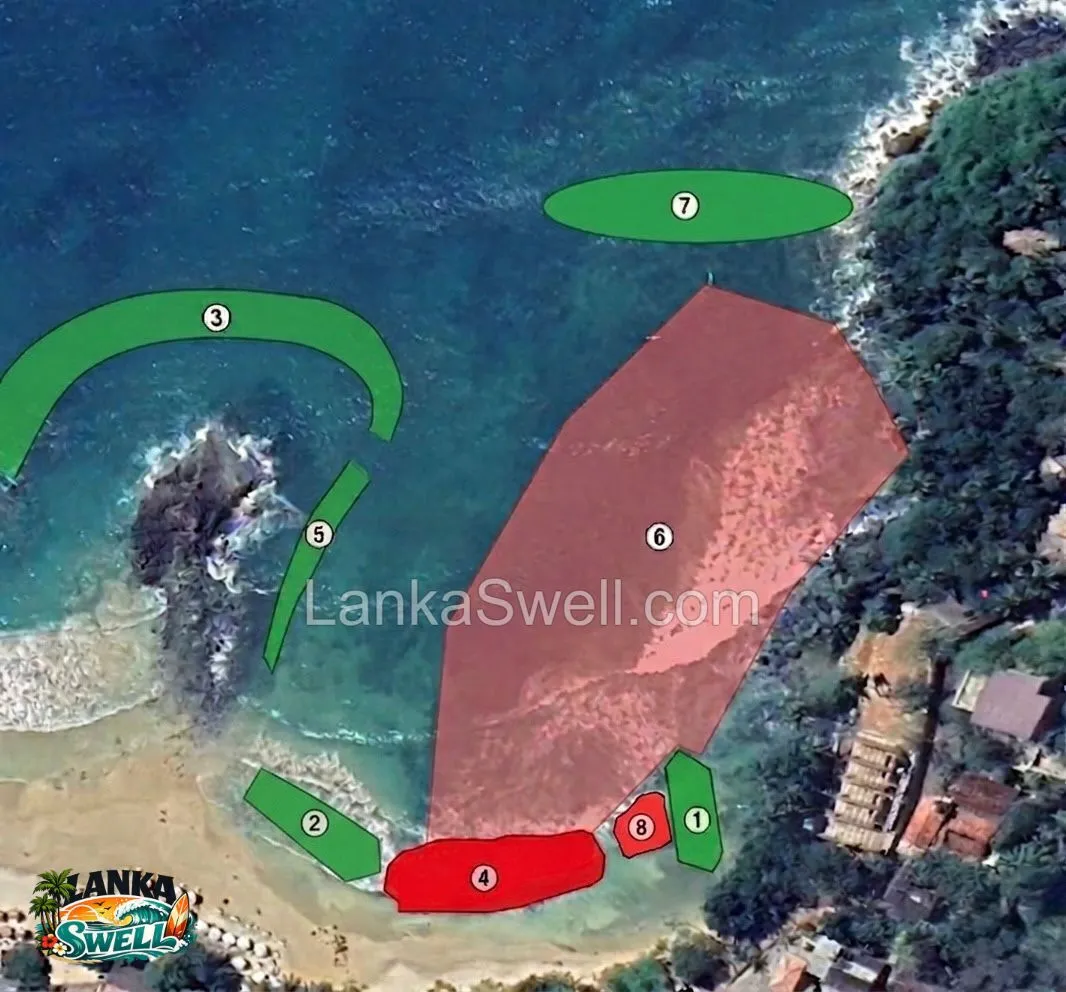
Use the numbered map and field notes below to understand the safest entry, paddle-out routes, lineup and main hazards at Mirissa Point.

Annotated aerial surf guide showing eight entry, paddle-out, lineup and hazard zones at Mirissa Point
Mirissa Point — entry routes, current, lineup and reef hazards.
01

Primary Entrance & Paddle-Out

The safest and easiest entrance. Choose a clear landmark on shore before paddling out so you can find the exit again. Stay 2–4 feet to the right of Rock 8 and do not drift into the very shallow reef beyond it. Sand coverage changes seasonally; watch for exposed rocks and sea urchins.

02

Alternative Beach Entrance

This entrance only works when the reef is covered by sand. That coverage is uncommon, often leaving sharp, shallow reef exposed. Do not use this route unless you are certain there is safe sand coverage.

03

Outer Paddle-Out Channel

A longer but safer route from the beach, around the main rock formation and into the lineup. It is the better option for less experienced surfers or anyone with limited board control. Keep well clear of rocks, especially on larger swells.

04

Impact Zone Rock

A heavily exposed rock covered in sea urchins. Never walk or climb on it. If a wave pushes you toward this area, kick out early or move into deeper water before reaching the rock.

05

Rip Current & Deep Passage

A strong natural current forms where water drains from several areas. On larger days, paddling straight back out from the inside is difficult. Move into the deeper passage and use the current to return toward the main lineup.

06

Shallow Reef Impact Zone

A wide, shallow reef where falls often end with foot contact on the bottom. Never dive headfirst. If you must walk on the reef, move carefully and look out for sea urchins.

07

Main Peak & Lineup

The primary take-off zone. It can become crowded, so stay aware of other surfers, follow surf etiquette, respect the local lineup and never drop in.

08

Surface Rock

A hazardous rock sitting at water level. Avoid it completely when entering or leaving the surf zone, especially when returning to shore.